Cloud3D Shader
Cloud3D Shader Brief Overview
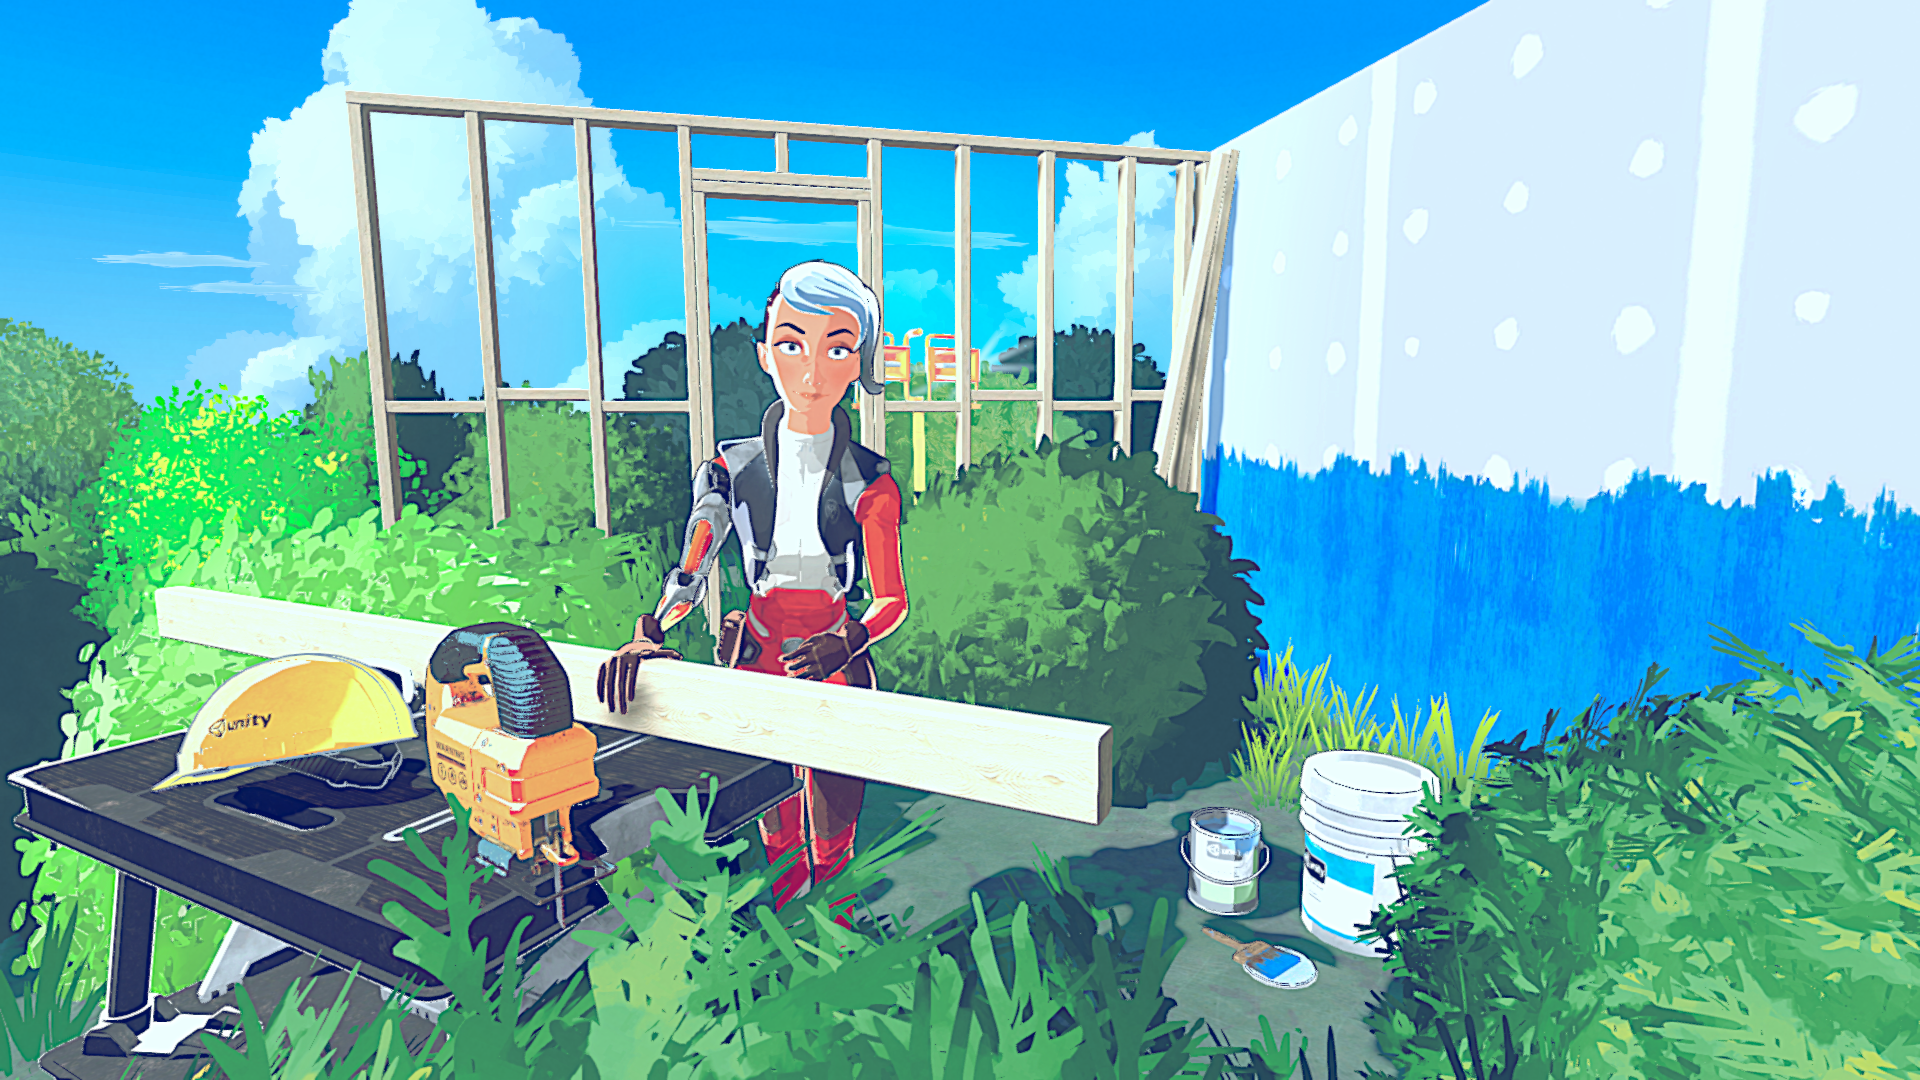
Cloud3D shader is an easy and flexible way to add the clouds to your scene. It works the best with the models processed with the Foliage Generator. with the models planes, or quads, and it works regardless of whether you have the skybox or not. The shader is applied to 2D objects like Quads.
There are Carrier models for the clouds included in Quibli, as well as are the presets for the Foliage Generator.
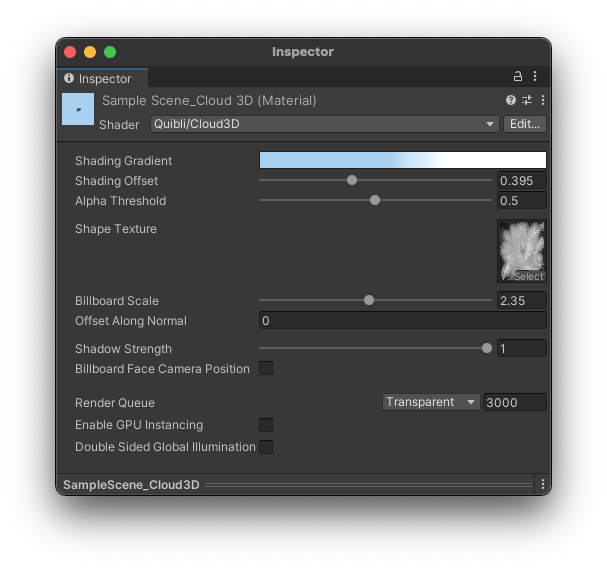
Quibli Cloud3D Shader Interface
Cloud3D shader was made in a Shader Graph, so you can easily edit and modify it in the Shader Graph editor.
Beginning to Work with Cloud3D Shader
- Create a material
- In the Inspector panel, in the Shader drop down menu choose Quibli ▶︎ Cloud3D. Now you can apply this material to an already done and included mesh in Quibli, or a model processed by the Foliage Generator. We’ll discuss the creation process down on this page.
Parameters of the Cloud3D Shader
- Shading gradient The parameter where you set the main colors of a cloud. Clicking on the Gradient ramp opens the Gradient Editor where you can set up to color 8 stops. You can find more information about the Gradient Editor in the part about the Stylized Lit Shader.
The same Gradient Editor is available for the following shaders: Stylized Lit, Foliage, Skybox, Cloud3D, Cloud2D. You can find the detailed explanation of the Gradient in the ‘Gradient’ sub-chapter of ‘Stylized Lit shader’ chapter
- Shading Offset Shading Offset moves the gradient over the model. It’s a convenience parameter, because this effect can be also made by moving all the stop points in the Gradient Editor.
- Alpha Threshold Sets how much to cut out from the texture. The slider is a color darkness threshold at which the texture is being clipped. The texture should be black and white — where the black-colored part is being cut out by the shader.
- Shape Texture Here you can choose the texture by which the alpha is cut out using the Clip Threshold parameter. You can view this texture as the one for the ‘puffiness’ of the cloud’s bump. In the Foliage Generator it is called a particle (the particles are described in the ‘Parameters’ section of the Foliage Generator chapter in this manual). Only red channel of the texture is used, which can be set in the texture’s import settings (select the texture and set it in the Inspector panel).
- Billboard Scale Sets the scale of the branch textures aka particles (particles are described here. Effectively, using this parameter, you can scale the whole mesh. Billboard Scale works only when billboards are active: when in the Billboard Rotation parameter Each Face or Whole Object are selected.
- Offset Along Normal Slides the particles along the normals. Visually it ‘inflates’ or ‘deflates’ the mesh.
- Shadow Strength Controls the intensity of the self-shadowing effect. In the Shader Graph, there is no easy possibility to reduce the self-shadowing phenomenon. This parameter is our attempt at overcoming this limitation.
- Billboard Face Camera Position If enabled, the billboard will face the camera position. Otherwise, the billboard faces the camera plane. This makes billboards look nicer when camera rotates but is more expensive to render.
Comments